You may find it useful while in the middle of a discussion.
It is a great way to express your feelings compellingly and creatively.
Remember: There are no right or wrong opinions to express.
This is a social media platform and should be taken with a grain of salt.
Feel free to express yourself and feel no pressure to follow anyone’s rules.
To generate a caption for yourself or your friends to go along with an image, ask yourself these questions:
- What are your friends wearing?
- Is there a particular food that your friend looks like he or she would enjoy?
- What do you or your friends find to be humorous?
- How far back do you want to go in their lives?
Consider selecting an image from an album

Start by selecting your image in the upper right corner.
Then, click on the Instagram icon located in the top left corner of the screen.
Type in your caption for this image. This might be the hardest part, so just try to come up with something you like.
Once you type it in, click on the share icon.
Now that you have the image and caption in place, just share it with your friends on Instagram.
There are several ways to do this, which we will explore later on in this article.
If you are just starting on Instagram and need some help, here are some resources that may help you out:
How to make the most of Instagram
Check out the next section to know how to take a screenshot and how to add hashtags.
You may have noticed that some of these social media platforms do not allow screenshots, which is why we have included the process of creating one in the next section.
Step 1:
If you are using Instagram on a phone, you will need to take a screenshot.
You can do this by tapping the shutter button in the top left corner of your screen.
Step 2:
Next, you will need to select your screenshot.
To do this, tap and hold your screenshot, and then drag it to your mobile device.
Step 3:
Once you have selected your screenshot, you will have the option of saving it to your camera roll or sending it to someone else.
We will discuss these options later in this article.
Step 4:
To share the screenshot, you will need to download Instagram to your computer.
Just click on your profile in the upper left corner of your screen. Click on settings.
Step 5:
Scroll down and click on your Instagram icon.
From there, click on your profile picture in the upper right corner.
Click on the share icon in the upper left corner of your screen.
Then, select the app you want to use to send your screenshots to.
Once you have downloaded the app, open it, and then click on the screenshot you want to use.
To do this, you will need to click on the checkmark in the upper right corner of your screen.
When you have selected the screenshot, click on the share icon in the top right corner.
You will need to type in the caption for this image and click on the blue arrow to send it to the person that you want to share it with.
What is posting a screenshot and adding hashtags?
You can upload your screenshot as a video, but the best way to share it with your friends and followers is to use the hashtag to describe it.
You will be able to see it attached to your friends’ posts and can even “like” it by tapping on it.
When you tap on a post, you will be able to access your saved screenshots.
If you don’t have a saved screenshot, you can save your screenshot from the home page.
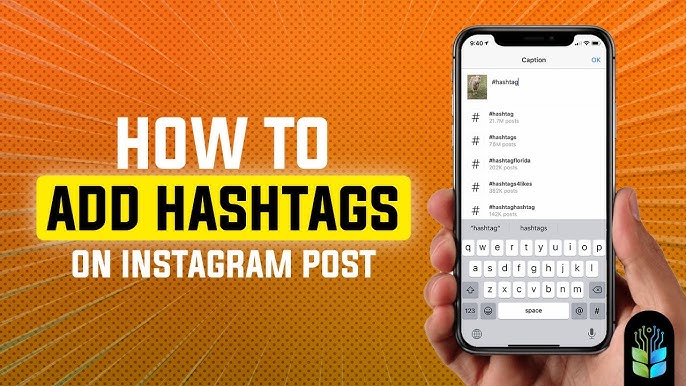
How to add hashtags to your screenshots
If you want to tag someone in one of your screenshots, then you will need to copy the hashcode associated with the photo and add it to your text field.
The best way to do this is by going to the same profile you have just pinned the screenshot to, then tap on the status icon, and select the three-dots icon.
You will need to tap on the three-dots icon once again to display the new option.
When you are done writing the hashtag, click on the same icon once again to save it.
Now, you will be able to add the hashtag to your text field and post the screenshot.
As we said earlier, adding hashtags is important so that other people can find your post.
To add hashtags to your post, you will need to have the share icon enabled.
To do this, simply open the post and click on the three-dots icon.
Once you click on the three-dots icon, you will be able to find the share icon.
Tap on it and select “Add Hashtag” from the context menu.
You can now add the hashtag as a text field.
For example, let’s say that you would like to tag yourself in a post. To do this, you would then go to the post’s profile, and then tap on the profile icon in the upper left corner.
From there, you will need to tap on the share icon in the upper right corner of your screen. You will then need to tap on your photo and tap on the post.
Once you have posted it, tap on the three-dots icon once again. You will then need to type the hash code associated with the photo.
You will then need to click on the three-dots icon once again to save your comment.
That’s it!